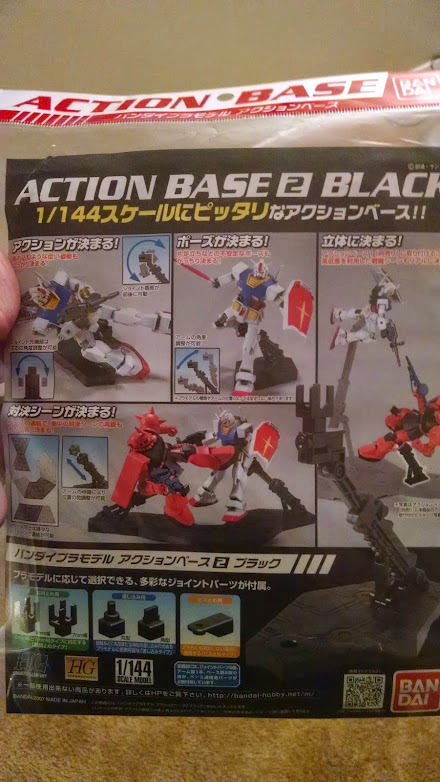
This holiday season brought no new Gundam model kits, but it still resulted in a few smaller Gundam related treats. One of them is an Action Base. The name sounds cheesy, but it isn’t entirely a silly marketing tactic. The base can be repositioned in numerous ways, so as to allow you to place your model in a variety of action poses. As you might expect, there are different types of bases for different types of kits. For example, Action Base 2, the one I got, is for 1⁄144 scale models, while Base 1 is for 1⁄100 scale and below (I’m not sure what the purpose of Base 3 is).
When the base arrived, it wasn’t quite what I was expecting. For some reason I forgot that this was Gunpla I was dealing with, and assumed it would be pre-assembled. But no, you have to build the sucker yourself. Thankfully it isn’t too hard. There are only a handful of pieces, and there’s really no need to trim and polish them; all told, I think construction took no more than ten minutes. Once complete, the base proves to be highly adaptable despite its relative simplicity. The entire apparatus consists of two pieces - the actual base, and an arm. The arm plugs into the base and can rotate a full 360 degrees. You can also change the arm’s angle and height, and the tip of the arm can swivel from side to side. All put together, this allows the base to support just about any kind of pose you could imagine.

Once construction was complete, I had to choose a kit to attach to the base. I originally decided on Char’s Zaku, but unfortunately I found that it’s missing a piece in its lower torso, without which it cannot be connected. That meant the next obvious choice was the Zeta Gundam, due to its fragile, super glued leg.
Unfortunately, I found it to be much more difficult to get a model onto the base. The first problem was literally lost in translation. The base comes with several different attachments for different types of models, but since the instructions aren’t in English, it wasn’t immediately clear what these pieces were for (originally I thought they all stacked on top of each other to create some sort of mega tower). Even more confusing is the fact that each of my Real Grade kits comes with its own special attachment, thus negating the need for the ones provided.
The second problem is that the instructions for attaching each kit to the base are all very unclear. The general process is the same; add the right attachment to the arm, and plug the attachment into the model’s crotch. But there’s a surprising amount of space in the Zeta Gundam’s crotch, and figuring out exactly how it plugged into the attachment required some guesswork, and a whole lot of manhandling. I ended up causing the stabilizer to fall off the back, resulting in about twenty minutes of reconstruction.
Eventually I put it all together, and placed the Zeta in the lamest pose ever, the classic “Torso Turned Slightly to the Left”. It isn’t fancy, but the point was more for stability than for style. I wouldn’t imagine trying even a simple pose like this without the base.

All in all, I’m pleased with the final result, enough that I’ll probably order bases for my other models (except for the poor Zaku, who’s stuck). I’ll just have to be more careful to avoid breakage next time,
Some additional notes:
- The Zeta’s bum leg has so far proven to be far more sturdy than I first thought. The stabilizer fell off, the skirt armor fell off, but the leg? Stood in place the entire time.
- Of course the packaging shows the Zaku kicking the Gundam. I honestly can’t think of a better way to sell these things.
- You can attach multiple Action Bases together in a variety of configurations. I imagine you could create some pretty nifty setpieces using multiple kits and bases.
Lastly, you can find a small gallery of photos here.